Sunday, October 28, 2012

Artistic Birthday

This week's challenge at Pile It On is sponsored by Dude Time Doodles/Bonibleaux Designs (DTD) so our theme is "Birthday Card for a Man".   

DTD has tons of images that are perfect for this theme, and I used Pierre Painter.
 

click to enlarge
The picture frame is a digi from TLC Creations (I colorized it in PhotoShop), and the "Splat" is from a sheet of free digis from Issue 101 of Simply cards and Papercraft magazine. I colored the splat with a green Sakura gel pen, adding detail with a PITT artist pen, and coloring the "canvas" with a Frost Blue Copic. I generated the text using Adobe Garamond.

I had particular fun making the paint stripe on the background. This is way more difficult then one might hope! I plopped down a few drops of orange acrylic paint, spread it with a small scrap of cardstock, added a bit more paint and let that drip naturally. I kept the results by giving a quick dry with my heat tool, although I mostly let it dry naturally.


Kimbee's Creations Sketch #9
Inspiration/Challenges:
Brown Sugar - Anything Goes
Crafty Catz - Male Card
Digistamps 4 Joy #53 - Anything goes + masculine bonus
Flourishes #192 - Birthday Card
Frosted Designs Fabulous Friday - Paints/Mists/Inks
Kimbee's Creations October Challenge - Sketch (they need MORE ENTRIES, so try this great sketch!)
Tandastamps - Masculine


Update: This card was a Runner-up (Top 2) for Digistamps 4 Joy #53, woot!


Thank you for visiting,

Saturday, October 27, 2012

Trick or Treat ... You're so Sweet!

I'm trying not to get caught up in the Frankenstorm hoopla, but I am trying to get caught up with my blogging just in case!

Here's another little reminder that the current "Too Cute" challenge at Card Cupids is running through October 31st. I hope you'll join the challenge and send in a card (it doesn't have to be the card you enter in the challenge). We're also have a bunch of Special Requests right now.


You may remember my DT card for this challenge, featuring a image from our sponsor Di's Digi Downloads. But I wanted to share another "Cute" card I made, with a Fresh Brewed Designs digi (our sponsor for Card Cupids' November 1st challenge, hint hint!):


I cut the card base on my Bigshot with Sizzix's Circle Flip-its Movers & Shapers die, which is actually Mom's but I cut a bunch of bases when she visited earlier this month. In fact, this is sort of a team project: Mom had cut the pumpkins from an October Afternoon DP using scalloped scissors, and she left some for me. She made the cutest Halloween cards with them, and I sent her this card! 


The "trick or treat" sentiment and green spotted paper are from the same DP, and I cut them out with dies. The "you're so sweet" sentiment is stamped in blue chalk and also cut out with a die.


I flipped one of the Pumpkin Fairy images, and colored them both with Copics. My husband helped me pick her colors, especially the red wings.

I stamped the pumpkin candy holder, colored it with Copics, and took a tip from Mom and cut it out with my scalloped scissors. Thanks Mom!!!
I used the same scissors to

Inspiration/Challenges:
  1. 2 Sisters Challenge #115: Halloween or Fall colours
  2. A Gem of a Challenge #58: Polka dots/spots
  3. DL.ART Thankful Thursday Challenge: Pumpkin
  4. Freshly Brewed Challenge #119: Sweet not spooky Halloween cards 
  5. Just Some Lines: Anything Halloween
  6. Moving Along With The Times: Cute Halloween
  7. My Time to Craft Challenge #194: Halloween
  8. One Stop Craft Challenge #202: Halloween
  9. Speedy and Friends Challenge #131: Pumpkins
  10. Speedy TV Mark's Finest Papers Simple Salutations: Fruit/Veg (Thanks Melissa "Sunshine HoneyBee" for inviting me!)
     
Thank you for visiting,

Thursday, October 25, 2012

Simply Autumn

The leaves are changing & falling in a major way, but I rarely have luck portraying the beauty of this season in a card. So I decided to try my hand at the "Autumn" challenge at Less is More (but I entered 6 challenges, not 5 (I thought it was 5 plus theirs) so it's ineligible, which always happens to me over there).


I used a "letterpress" technique to stamp/deboss the fence; the shape is actually a wooden shape (which I received from Linda as part of a City Crafter swap). Basically, I inked the wooden shape with brown chalk ink, carefully taped it, ink-side-down, onto my cardstock (with removable tape), and ran it through my Bigshot using the sandwich of: multipurpose platform, wooden shape, cardstock, extra piece of cardstock, one embossing pad, and a clear plate on top. Because the wood is so thick, I had trouble with getting a good embossing without the paper cracking, but it "stamped" great!

The leaves are embossed/cut with Spellbinders dies. I used craft foil for the copper leaves. The sentiment is stamped with brown StazOn, using a stamp from an Adam Prescott/Cardmaking & Papercraft magazine set.

The stamped portion is adhered to the card base with foam tape, so that it pop up a little bit (like I see the pros doing). I'm very happy with the results; just because it's "clean & simple" doesn't mean it was easy!


Inspiration/Challenges:
Cardabilities Sketch #61: Sketch
Critter Sketch: Embossing  
Divas by Design Challenge 58: Use some Orange
House of Gilli: Embossing, wet or dry
Simon Says Stamp: Autumn Leaves


Update: I ended up sending this, along with a completed repair order, to the State Police. Hey, working in Traffic can't be fun; and everyone deserves a card!

Thank you for visiting,

Más vale tarde que nunca

I had so much fun making my framed Sugar Skull and Halloween/Birthday Card that I just had to make some cards using the same mix of paper-piecing and glow-in-the-dark glitter.  
I used orange and yellow flocking for the flowers, and colored the pieces with my Copics, using a lot of shading. 

I used the lovely Framed Sugar Skull & Flowers by Dilly Beans, and made the backing by printing it on shiny blue Recollections cardstock and then heat-embossing it in Glitter (Stampendous Kaleidoscope powder). The eye socket, nose hole, and teeth are actually a shiny white paper.

click to enlarge
As I'm sending this to my husband's Aunt in Mexico, whose birthday was earlier this month(!), I used the "Más vale tarde que nunca" ("Better late than never") & one of the birthday sentiments from the Queremos Pastel set by Dilo en Español Stamps. I think she'll appreciate the humor!

I used Spellbinders dies and another sentiment from the Dilo en Español set for the inside:

Here it is, glowing in the dark:

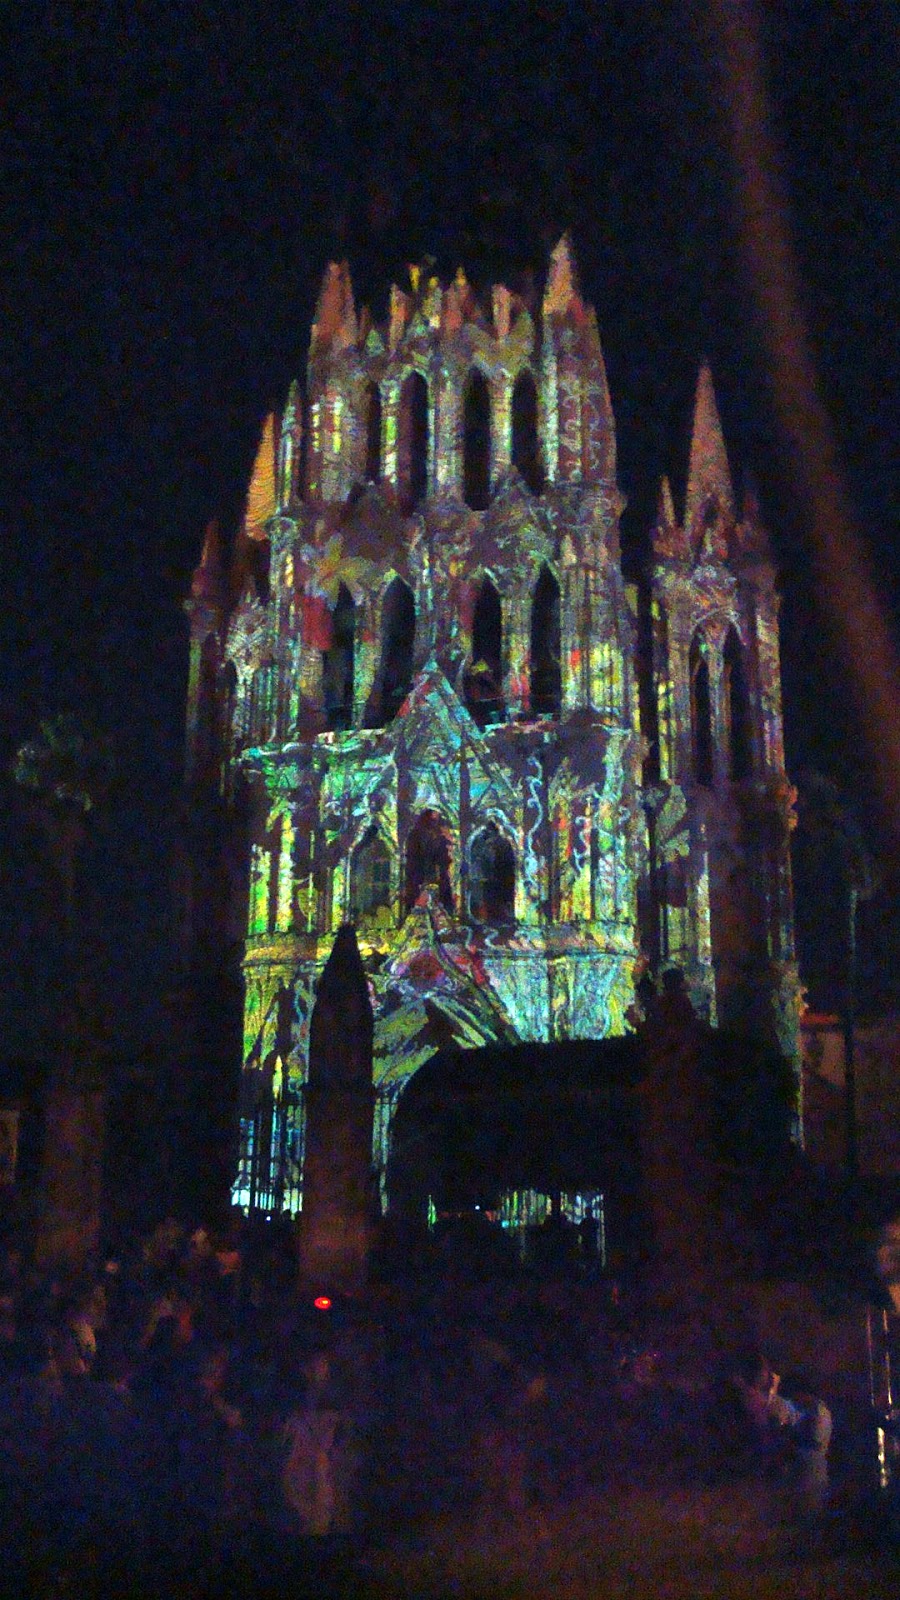
Our aunt owns & runs Arcos Del Atascadero Bed & Breakfast in San Miguel de Allende, Guanajuato, Mexico, and she taught me a lot about Día de Muertos traditions, as she's an expert in Mexican history and I like to ask a lot of questions! I'm really hoping that we can visit them during the All Saints holidays one of these years. Actually, the glowing skull sorta reminds my of this photo I snapped during our last visit to San Miguel de Allende, of the light show on la Parroquia in their main square:


Inspiration/Challenges:
Alota Rubber Stamps: Birthday celebrations
Cupcake Craft
: Paper Piecing
MarkerPop Coloring Challenge #9: Paper Piecing + Shading
Natalie and Amy's Challenge: Birthday bling
Poisoned Peas Please Challenge #8: Sugar Skulls and Day of the Dead (This is my 2nd entry; my 1st is here)


You can see all of my Día de Muertos projects here in my archives.

Thank you for visiting,

Wednesday, October 24, 2012

Winter Wishes to Card Cuties

I'm slowly working on some cards for our Card Cupids Winter Wishes card drive for the children at Cole’s Pages.

I decided to make two cards — one for a girl and one for a boy — using this week's Merry Monday holiday card sketch.


****** 
For the girl's card, I used First Snow by Karen's Doodles, which I won from Karen's Doodles last year, and was very much inspired by this week's recipe/photo inspiration challenge at The Ribbon Reel.


The Ribbon Reel
Inspiration/Challenges for this card:
Merry Monday #38: Sketch
Stamp and Create: Winter Wonderland
The Ribbon Reel: Photo/Color Inspiration + ribbon/burlap + Shabby


It's difficult to see, but the white background is lightly embossing with a Snowflake pattern (same goes for the boy's card).

I heat-embossed a snowflake pattern (from Raisin Boat) onto the large metallic brads (from Michaels), and wound a white leaf ribbon around them.

The sentiment is stamped on a scrap from a canvas bag (if you follow my blog, you know I've gotten a lot out of that bag ... and there's still more left!), and I left on the seam because I thought it looked, well, "shabby chic." I finished it off with a white snowflake brad.


******
For my second card using this week's Merry Monday holiday card sketch, I used Tastes Snow Good by Dearie Dolls Digi Stamps.


Inspiration/Challenges for this card:
Digi Makeover Challenge
: Weather + digi
Merry Monday #38
: Sketch

My Heart Pieces Digital Stamps Challenge: Monochromatic
For the banner, I made a tiny "scarf" by stamping onto stiff felt. I added some detail to the end with embroidery floss; the fringe is difficult to see in this photo, but it's so cute.

The blue strips were scraps from my endless stash, and the snowflakes were cut with a Martha Stewart punch using the same cardstock as the embossed background (shiny white Core'dinations).

The image was colored with Copics, and there's blue shading although it's also difficult to see. I used my Marvy Snow Pen (heat-activated puff-paint) to add some more "snow".

Update: This cards was the random prize winner for Digi Makeover Challenge #59. Thank you!
    ******
    Hope you'll send some Winter Wishes cards for the children at Cole’s Pages; the deadline is December 1st. The cards don't have to be winter-themed, just any sort of non-religious "Happy Mail". You can get all the information at Card Cupids.

    Have a super day,